Sunday, September 27, 2009

Dining Room – A Time for Change

Long before I started my own blog, there was one blogger, Traci at Beneath My Heart , who had purchased a china hutch at a yard sale.  She completely transformed it by painting it and I was so impressed that I thought it’s time for a  change in my dining room.   Check out her blog…..she has done some awesome furniture transformations. 

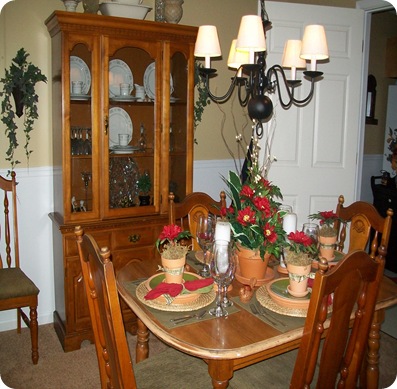
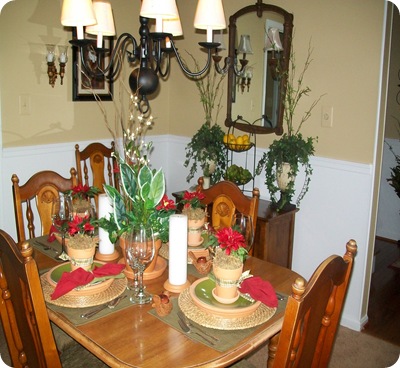
My dining room was just okay.  Actually it was boring ….I mean really really boring.   Below are pictures of the dining room before: 

002 - Copy (2)

I  just recently had my husband install the dining room chandelier.  That was another one of my Habitat for Humanity Restore purchases.  It was brass so I primed and painted it black and added the shades to it. 

003 - Copy (2)

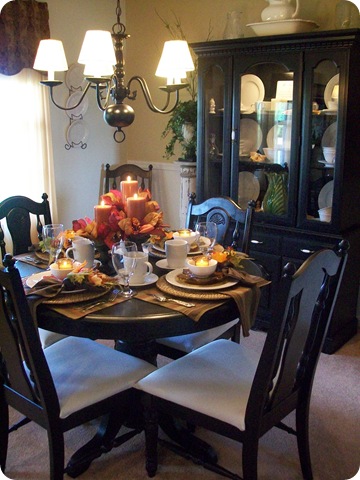
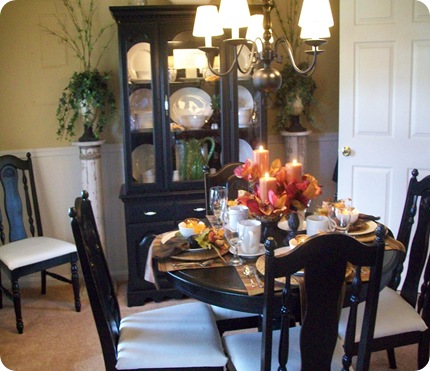
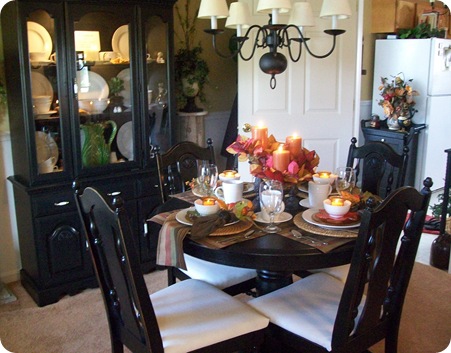
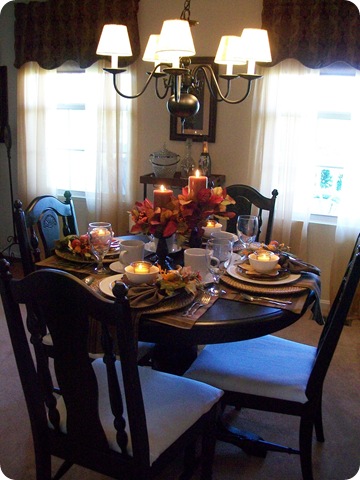
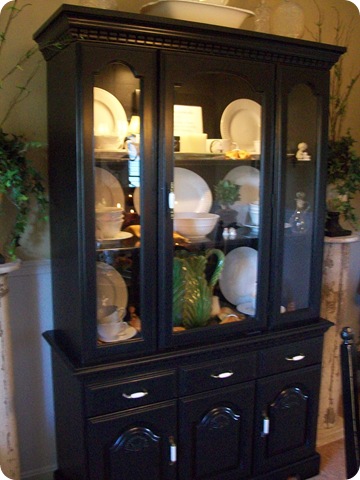
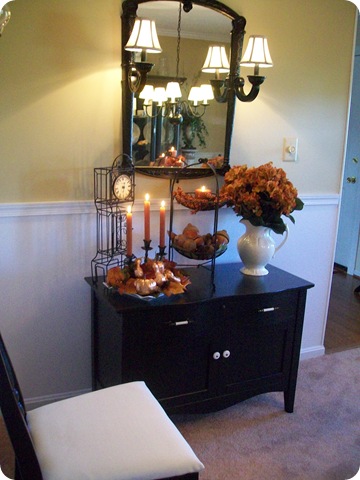
Now here’s the after:

012

001 - Copy

004

009

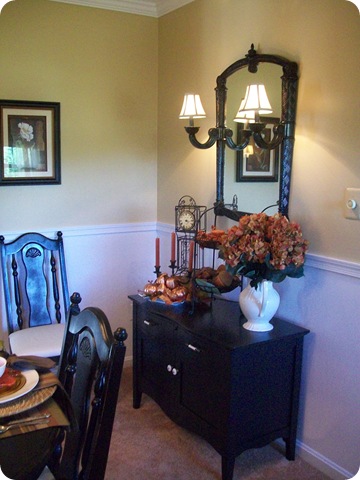
I replaced the table with a round one that I had purchased at an auction for $90.  It came with four chairs but I only wanted the table.  I’m sorry I don’t have a picture of the table before but I was so excited about my purchase I immediately started sanding and painting it before I realized that I didn’t take a picture of it.  It was oak.   Basically, I painted all the oak finished furniture black and recovered the dining room chair cushions white.  The paint I used had a primer in it so I didn’t need to prime first.  It worked Great!  It took two coats but I let it dry a day before painting the second coat.  We also installed new hardware on the furniture that I purchased at a yard sale. 

005


008

The mirror above was also an auction find.  I painted the frame black and placed lamp shades that matched the chandelier. 

001 - Copy (2)

We really like how the dining room has an elegant yet comfortable feel and all for under $150.00. 

The only thing left to do is change out the door.  We want to install a french door.  That’s on my wish list! 

Blessings,

Gail

I’m linking this post to Hooked on Houses for Hooked on Fridays.

Friday, September 25, 2009

Autumn Inspired

I have been autumn inspired by so many of you out there in blogland.  I have never seen so many beautiful and creative displays of autumn colors  in wreaths, tablescapes and even in pumpkins. ( I can only imagine what Christmas will be like.)  
That being said,  I’ll take you for a little tour of the exterior of my home to show you some of my fall decor.  But before I do that, I would like to mention a few  bloggers that had some awesome autumn projects to do.  They are:   Jane at Mamie Jane’s  on how to make a wire pumpkin , Terry at Cherished Treasures on gilding and even has a video on it, Gina at The Shabby Chic Cottage for some cheap fall decorating tricks and Roeshel at DIY Show Off for her mercury glass pumpkins….absolutely stunning.  Go check out their blogs.  You won’t be disappointed. 
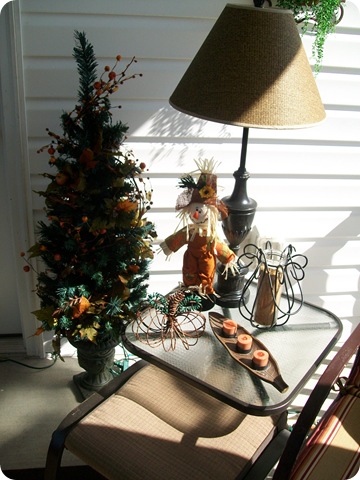
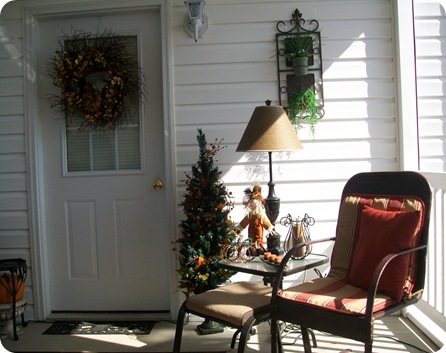
Now to the tour.  This is our little screened-in porch.  We love it out there. 

004

See the wire pumpkin on the glass top table.  I got this idea from Jane.

 015

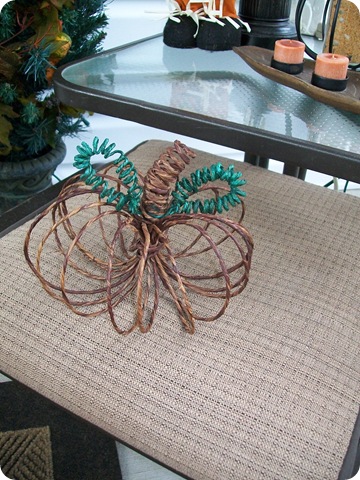
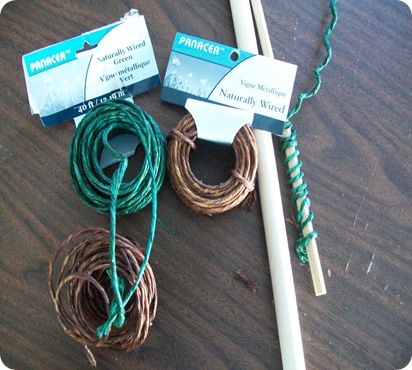
Here is a close up of the wire pumpkin.  I used some wire that I had and it worked out perfectly.  To make my leaves I used a dowel rod and wrapped the wire around it.  The fatter dowel rod was used to make my stem for the pumpkin. 

002 - Copy

008

I had to show you this….the metal chair you see was an auction item and it looked awful!  It must have had nine layers of paint on it.  It’s an old metal rocker and yet it’s the most comfortable seat on our porch.  I sanded and spray painted it and now it fits right in.  The tree is decorated with berries and leaf garland. 

056

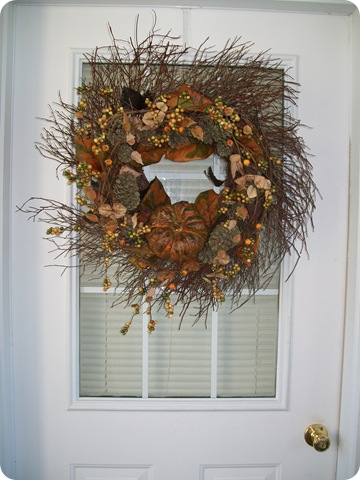
I made the wreath on our garage door last year. 

010

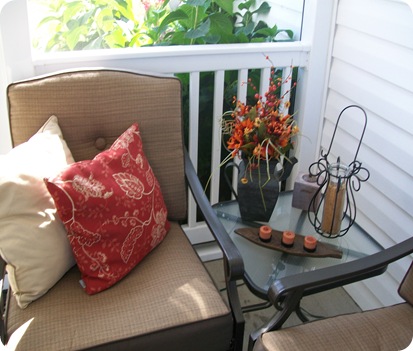
Here is another comfy seating area on the porch with a little touch of fall. 

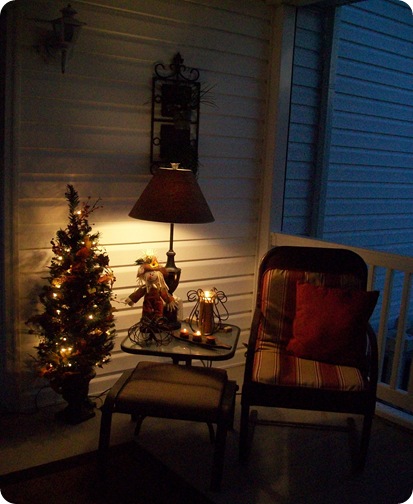
As night draws near………

009

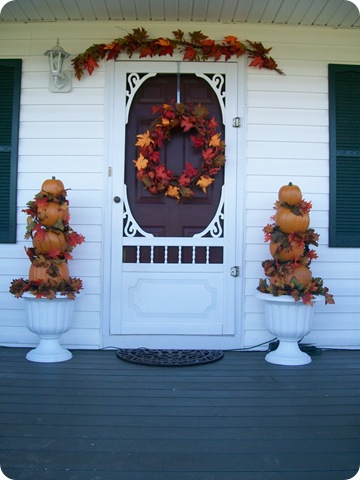
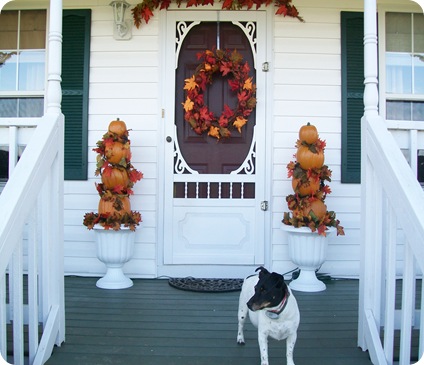
Below is our front porch.  I keep it pretty simple.  I made the pumpkin topiaries last year. 

006


003I had to throw this in, he wanted his picture taken too.  He is  our baby.  His name is Duncan and he is spoiled rotten!

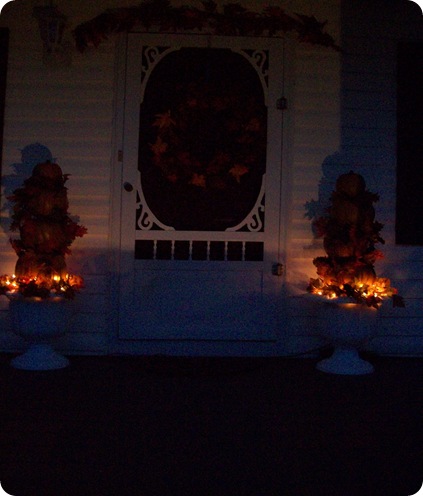
A picture of night drawing near of the front porch.

015

008

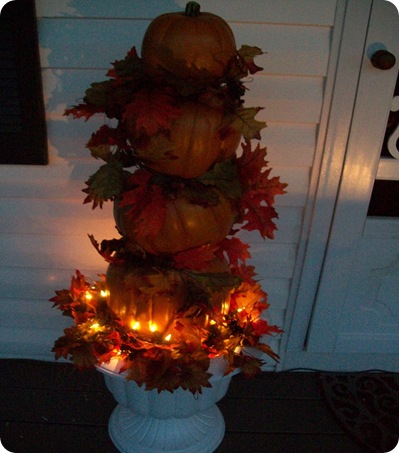
A close-up of the topiary. 

A sneak peak of my gilding that was inspired by Terry.   I’m still tweaking the inside of my home.  When I’m done, I will be sure to post it. 

002

Hope you enjoyed my exterior tour of autumn at my home. 

Blessings,

Gail

I’m linking this post today to Rhoda at Southern Hospitality for the Fall party.   

Sunday, September 20, 2009

A Head Board Becomes House-number Sign

Today is Furniture Feature Friday at Miss Mustard Seed and I’m linking to it!  It’s her first one so go see all the great furniture transformations. 

What a busy weekend!  Our house number gets a new sign post and I can finally say I have started my fall decorating. 

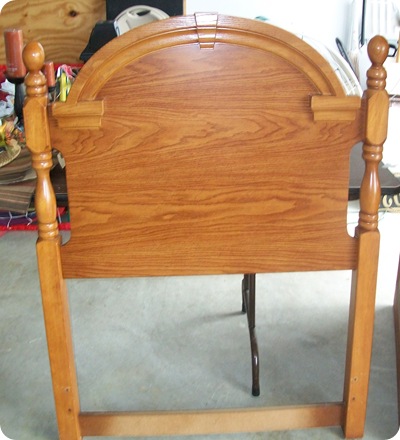
I recently was at one of my favorite places to shop, Habitat for Humanity, and got this twin head board for $10.  I was thinking that it would make a perfect sign post for our house number. 

022 - Copy 

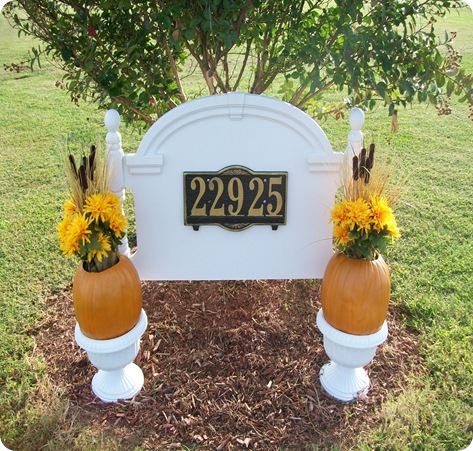
With a little bit of sanding, exterior priming, painting and applying exterior water-based polyurethane we now have this pictured below:

002 - Copy

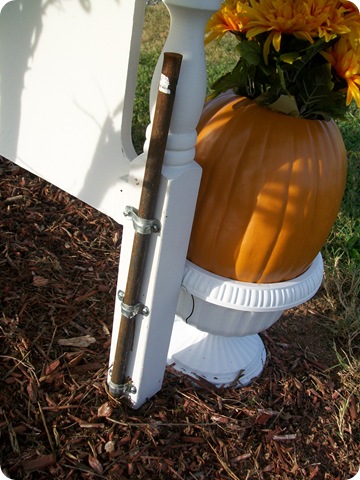
With the help of my hubby, we attached those bracket thingies to the back of the post so that we could stake it in the ground by using metal posts.

002 - Copy (2)

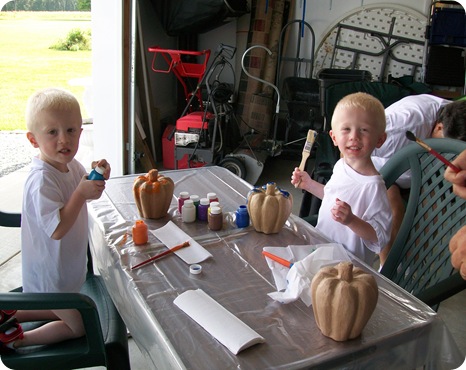
With the help of my twin grandsons, I started my fall decorating.  We spent the day on Friday painting pumpkins and decorating the outside of my house.  I wished I had taken a picture of their pumpkins before they gave them to their mommy and daddy.  But let me tell you they were the best looking pumpkins anyone could ever purchase.    

029

Being a “Grandma” is so rewarding!

Gail

Today I’m linking to Kimba at A Soft Place to Land for Do It Yourself Day and Gina at The Shabby Chic for Transformation Thursday.    

Saturday, September 19, 2009

Vintage Suitcase Foot-Rest Tutorial

Some of you have asked that I post how I made my vintage suitcase foot-rest. 

Things you will need:

    • Four feet for the foot-rest that includes embedded bolts
    • Four nuts to fit bolts
    • Fabric (how much will depend on the size of your suitcase)
    • Wide ribbon
    • Thick foam (I got mine at JoAnn’s Fabric)
    • Stain or paint for feet
    • Glue gun
    • Electric knife
    • Drill
    • Plywood (optional)

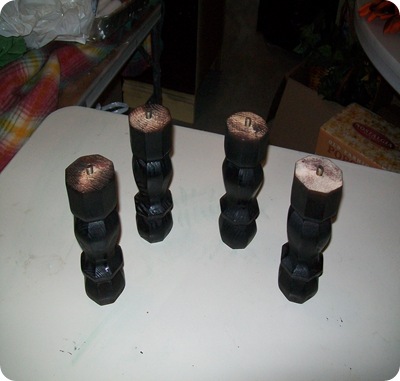
Stain or paint your foot-rest feet. 

071

Drill four holes in the bottom of your suitcase where your feet will go.  Your feet should be placed equally distant from the sides of the suitcase.  If the bottom is not sturdy, you may have to reinforce it with a piece of plywood before adding the feet. 

073

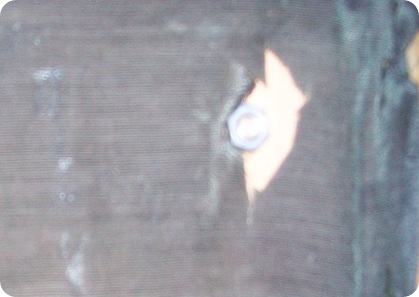
Sorry for the blurriness but I hope you can see  where I have attached one foot and secured the bolt with a nut. 

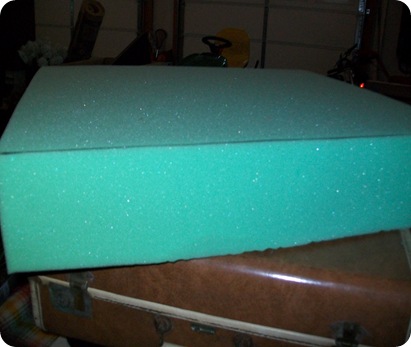
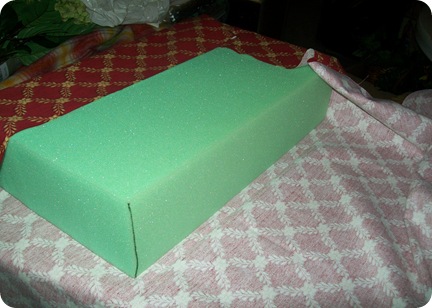
Measure the top of the suitcase and cut your foam to fit with an electric knife.  (If you know the exact measurement of your suitcase, you can have JoAnn’s cut the foam to the exact size you need.) 

075

Cover your foam with fabric by hot gluing it to the foam. 

076 

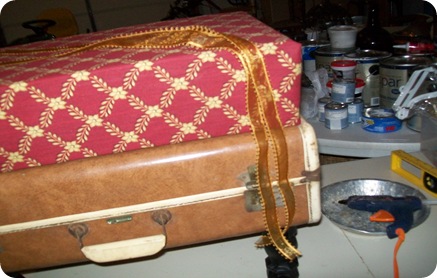
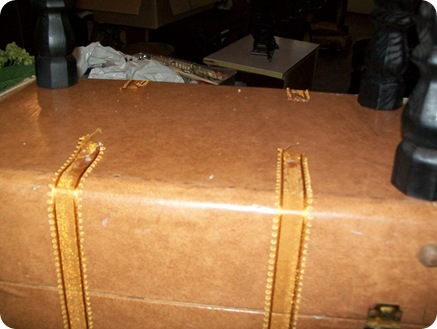
Place the fabric covered foam on top of the suitcase.  Use your ribbon to strap the two together by gluing the ends of your ribbon lengths to the bottom of  your suitcase. 

080

081

003 - Copy

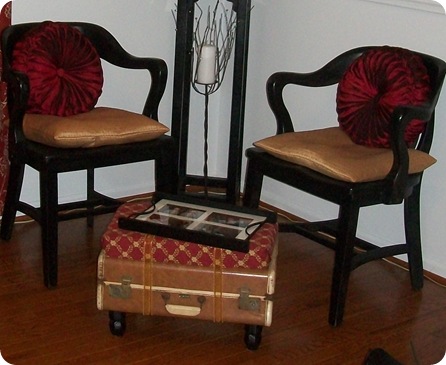
There you have it, a well-traveled foot-rest.

Gail

P.S.  If you have questions, please feel free to email me. 

Tuesday, September 15, 2009

Vintage Suitcase Ends Travel

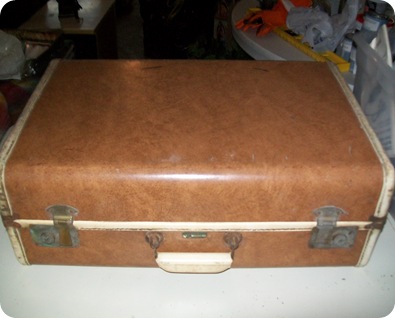
A few years ago, my husband I went to an estate auction.  There were a lot of antique and collectable items.  I was immediately drawn to this vintage suitcase. 

072 

At the time, I wasn’t exactly sure what I would do with it but it found its way into my home.   After cleaning it up a bit, I put it in one of the bedrooms where it stayed until just recently. 

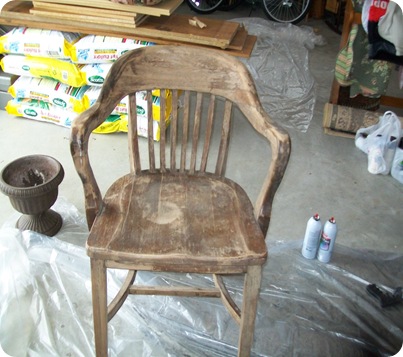
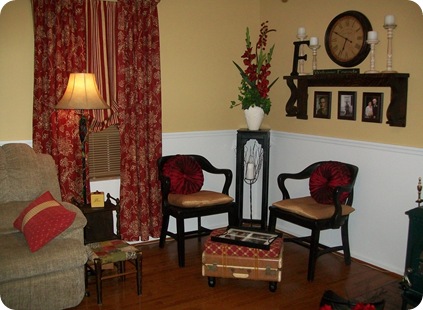
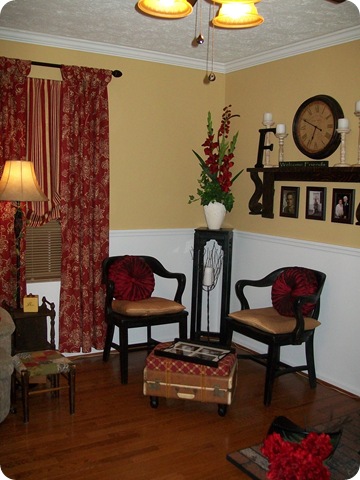
A few months ago, I repainted our family room and decided that I wanted a change in one corner. We also needed some additional seating that could be moved from time to time.  With that in  mind, I started digging through our shed that is jammed packed with yard sale/auction treasures.  048

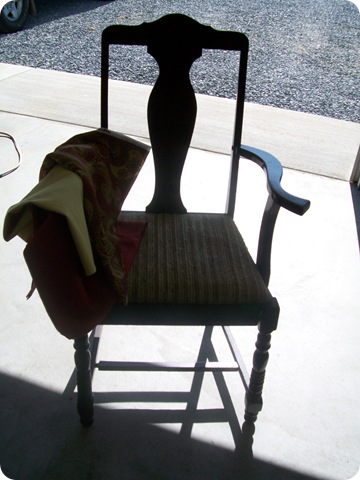
I found this chair which has a twin and I got the pair at a yard sale for $5.00.

013

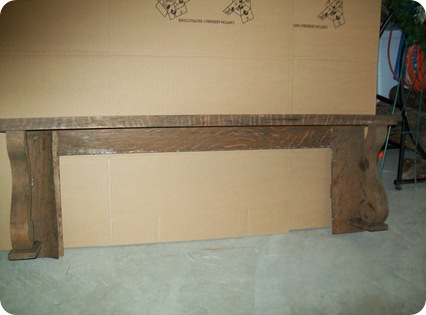
This mantel was an auction item for $1.00.  It had a mirror that unfortunately had a mishap…..it got broken. 

With a little sanding, priming, painting and staining our little corner becomes a yard sale/auction redesign style.

005

004

This well-traveled suitcase is now a suitable foot-rest in my family room.  

Hope you enjoyed.

Gail

P.S. That little tray on my new foot-rest has pictures inserted under glass of my grandsons. 

Monday, September 7, 2009

TV Armoire for $5.00

What a weekend for treasures! 

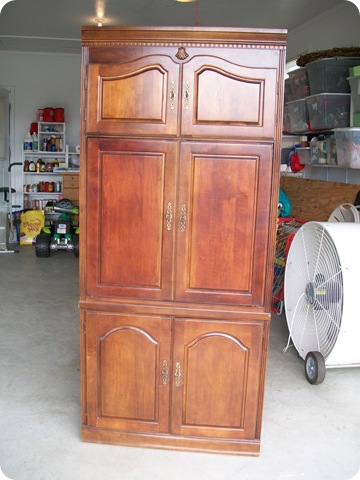
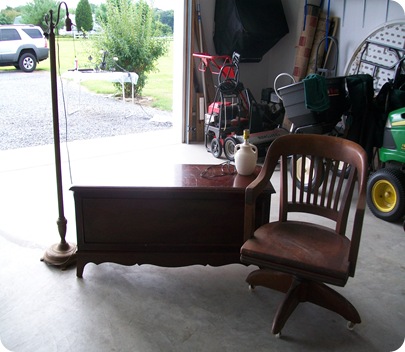
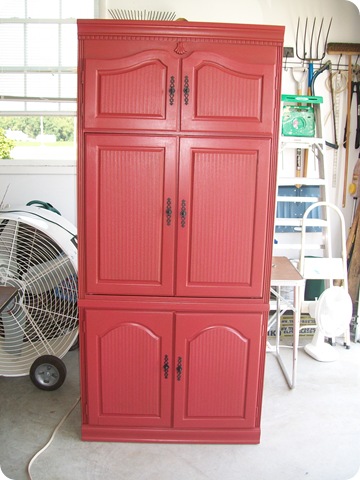
We had heard that one of our favorite auctioneers was having an auction this past weekend.  We had not attended one of his auctions for quite some time and we were anxious to attend.   And boy am I glad we did!  We got this armoire for

015 - Copy

$5.00, a cedar chest for $60.00, desk chair for $5.00, floor lamp for $5.00 and a little white lamp for $2.00.  (Please pardon my messy garage.  It’s where all the creative things happen.)

014 - Copy

By coincidence, my niece has been wanting a TV armoire for her living room.  She wanted it a country red to match her decor.  So I primed and painted my five dollar purchase, spray painted the hardware black and added bead board wallpaper inside the door panels. 

032

She loves it and as soon as we deliver and place it in her living room, I’ll show you a picture of it in it’s new home. 

More posts to come of the transformation of  my other finds. 

Gail

Tuesday, September 1, 2009

Guest Room – The Finishing Touch

What a busy week since my first blog post and I must say I am loving this blogging. I have received a lot of really nice comments. My thanks to all of you.

I’ve been trying to finish up in the guest room. I wanted to replace the ceiling light fixture that was there with a chandelier but didn’t want to pay the price of what one would cost. See pic below of ceiling light fixture.

September 1 ,2009 035

So, I went to one of my favorite places to shop, The Patuxent Habitat for Humanity Restore and look what I found.

August 18, 2009 001

A chandelier and a window frame. The chandelier I paid $15.00 for and the window frame I paid $10.00 which I have plans for that as well. I probably could have found those items cheaper at a yard sale but I wanted it now and you never know how long it would have taken to find a chandelier especially since it was exactly what I was looking for and not to mention shopping there is for a good cause.

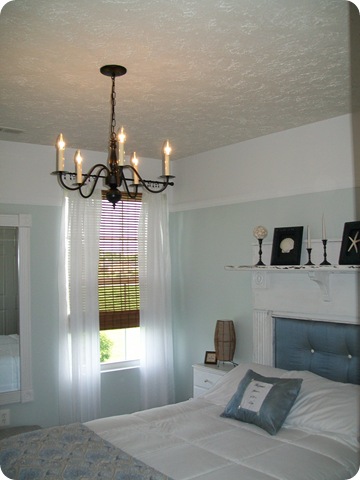
I primed and painted the chandelier and I absolutely love how it turned out.

August 31, 2009 021

Ahhhhh……….the finishing touch!

Now that I’m done with the guest room it’s time to move on with

August 31, 2009 010

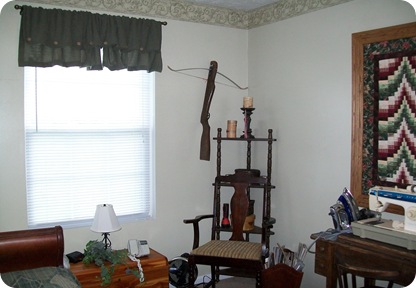
My sewing/catch all room. I think it's time for a redo.

September 1 ,2009 037

The family chair ………and

September 1 ,2009 038

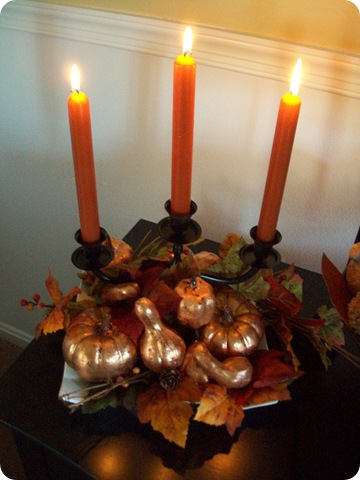
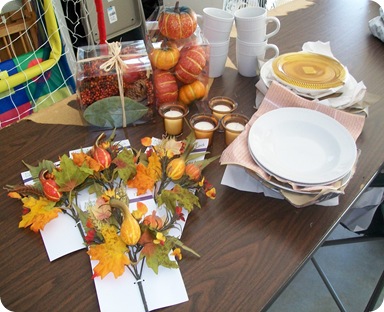
my fall tablescape. It’s getting that time of year and the weather here right now sure does feel like fall. ( I just noticed my work table in the garage needs a redo too….oh well it’s a work table . )

Gail

Related Posts with Thumbnails