Thursday, February 18, 2010

Cloche Party!

Marty at A Stroll Thru Life is having a Cloche Party and I’m so excited.  This is my very first one!  I have visited Marty’s  Cloche Parties before and was so inspired by all the participants’ cloches that I wanted to start collecting a few. 

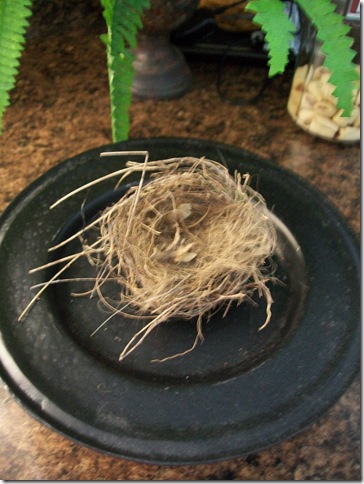
Under  my first cloche I’m about to show you,  is a bird’s nest that was in a tree in our front yard.009
I added moss and eggs to the nest.  I made a tag and tied it on with jute string.  The tags says “Bless Our Nest”.  I wanted to keep it simple.054
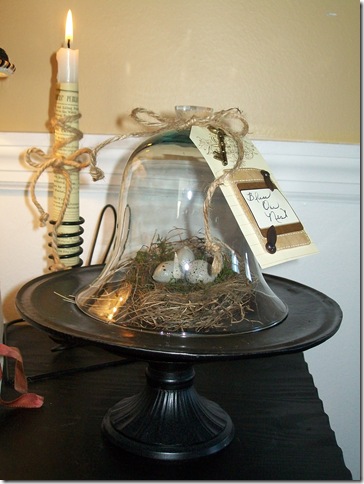
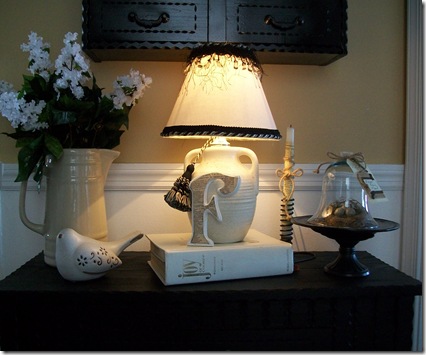
This cloche has found it’s home in our kitchen entry way table.  017
My second cloche I kept  simple as well.  I just added  decorative orbs.072
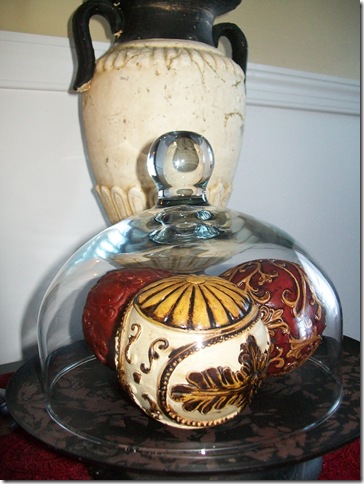
Both of my cloches were thrift store finds.  069
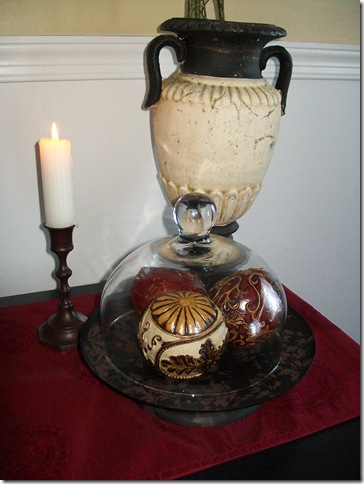
This cloche is in my dining room on the side table.  075
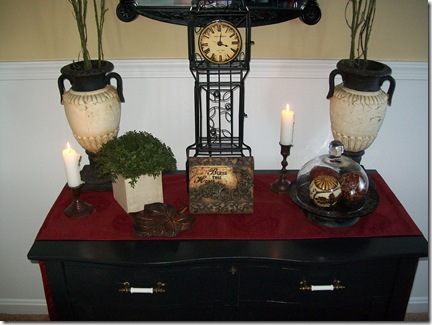
Thanks so much for coming by and I hope you enjoyed my cloches.    Be sure to check out Marty’s cloches and all the other participants because you will be inspired! 

Gail

Tuesday, February 16, 2010

Chair Back Covers

I would like to thank all of you for leaving such sweet comments about my dining room tweaking.  A few folks inquired about how I made my chair back covers, so I thought I would share with  you how I made them. 

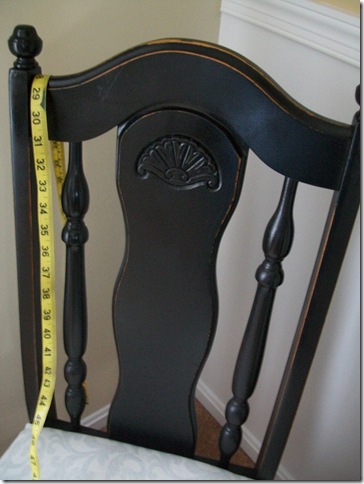
First, I measured the back of the chair to determine the width and length I needed.  005 

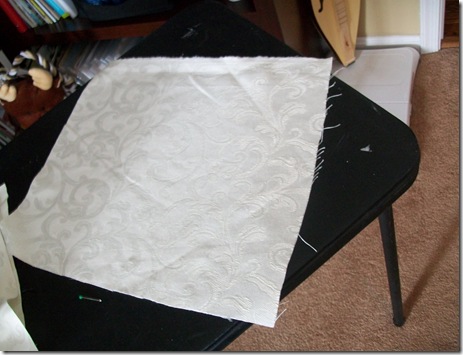
Allowing for a seam allowance, I cut my fabric.   In the picture below you can see where I ironed my fabric before sewing because I wanted to make sure when I turned my ends to make a point, it would be even.  046

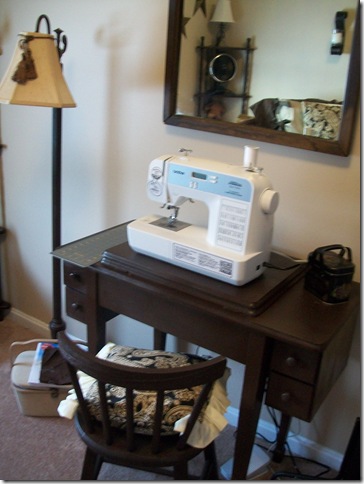
Instead of sewing you could very easily use iron on tape but I wanted to try out my new sewing machine.   008

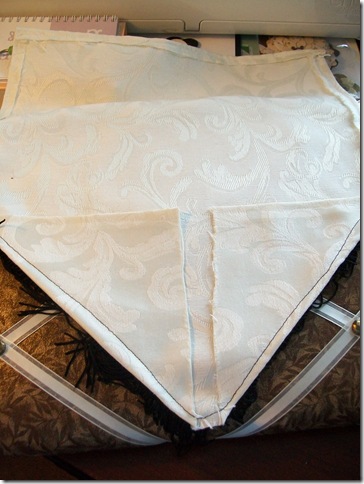
I sewed three sides and then turned up my ends to make a point.  I used iron on tape at the top to secure the point.  Then attached the trim.   See picture below.  016

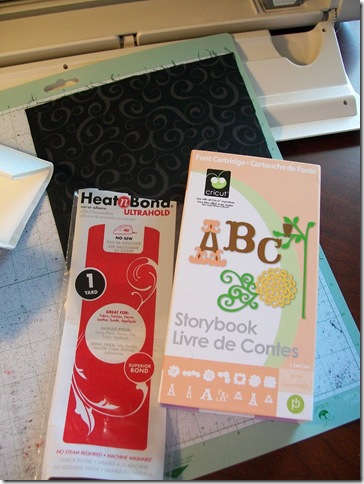
Using my Cricut, storybook cartridge and Heat n’ Bond  I made an “F”.  048

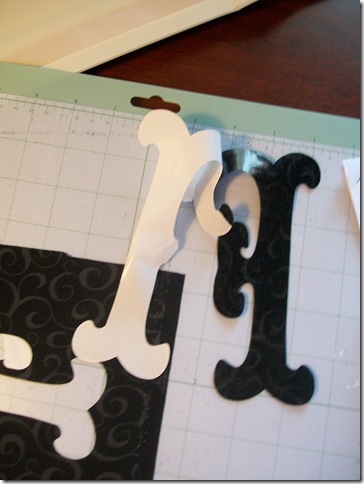
Next, I peeled the Heat n’ Bond paper off the back of the “F”. 049

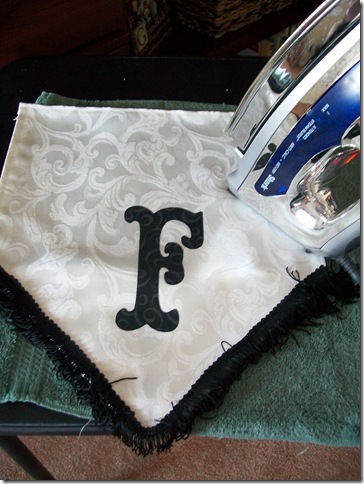
Then I placed the “F” on the front of the chair back cover and ironed it on.  050 

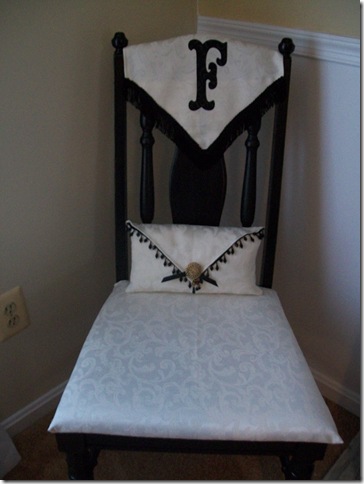
There you have it……a Mon0grammed Chair Back Cover.     112

I hope this all made sense to you.  If you have any questions, please email me or leave me a comment. 

Gail

Monday, February 8, 2010

Tweaking the Dining Room

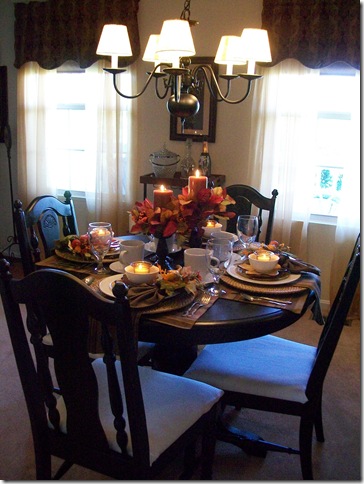
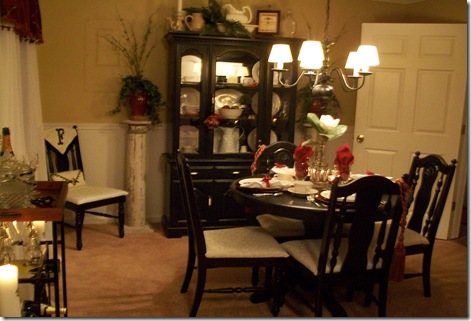
I’ve been busy tweaking a few things in the dining room.  It’s hard to believe that just five months ago my dining room looked like this.  You can read about the transformation of the dining room here.

002 - Copy (2)

I don’t know about you but my “Things to Do” list must be a mile long.  On my list were few things I wanted to do in the dining room.    One was to change the window treatments and two was to make chair covers for two of the dining room chairs.  

Below is a before picture of the window treatment I had in the dining room.  It’s hard to see but the valance was gold with a green stripe  and a small hint of red in the green stripe.   Behind the valance are gold sheer panels. 009

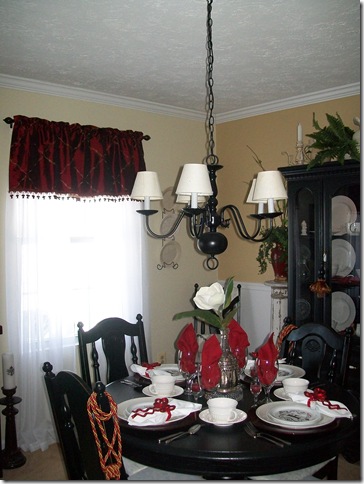
Now a picture of the after, I chose a red valance with a touch of gold and used white sheer panels.  What a difference!  It makes the room so much brighter.    012

My original thought was to make chair covers for two of the chairs in the dining room but I opted for something a little more simple.  I made monogram chair back covers and  small pillows instead.     112

One view with one of the chairs.  037

018

And another view with the other chair.  002

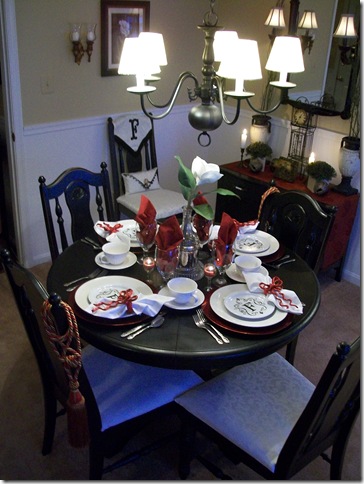
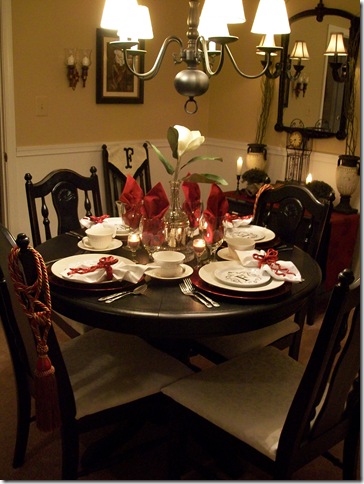
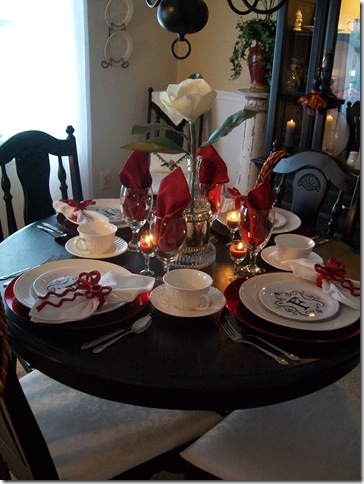
The tablescape in the dining room.   124

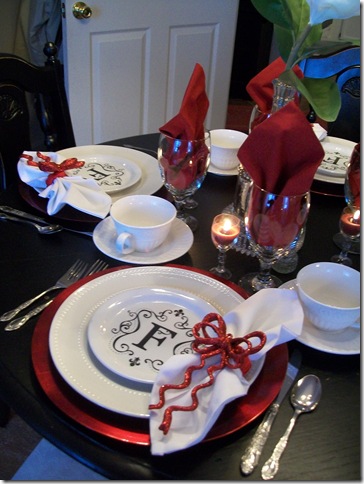
I’m lovin’ all things red and monogrammed right now!  123

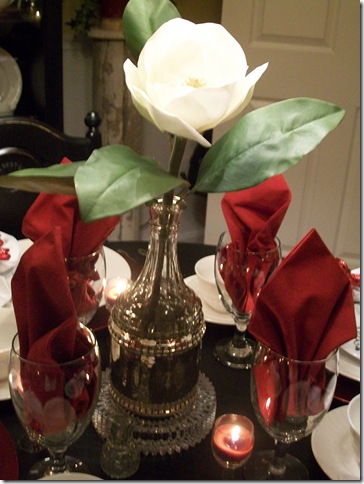
I used my wine decanter for a vase.  020

I love the little goblet candle holders.  044

The vignette on top of the china cabinet were all auction, yard sale and thrift store purchases.  027

Now I can check off my list the dining room and on to  other “Things To Do”.

Gail

P.S.  I’m linking this post to Finding Fabulous for Frugalicious Friday, My Romantic Home for Show and Tell Friday and Poppies at Play for Creative Cats.  Thanks ladies for hosting such a fun linky party.

Related Posts with Thumbnails