Wednesday, August 29, 2012

Fall Rag Quilt

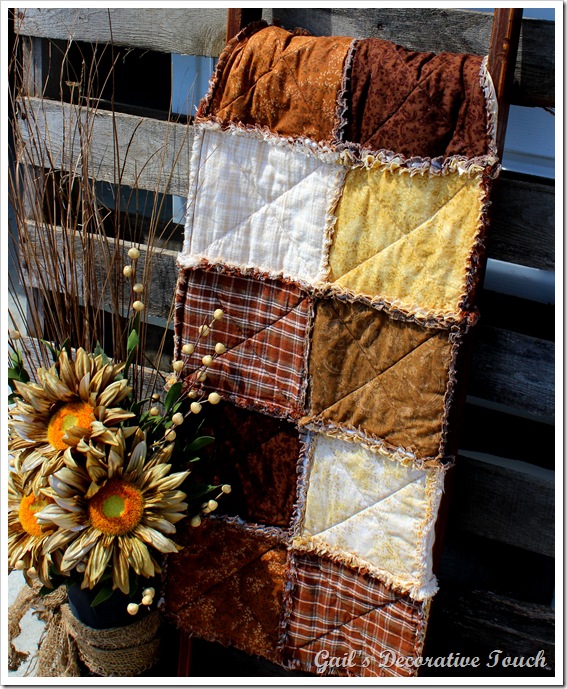
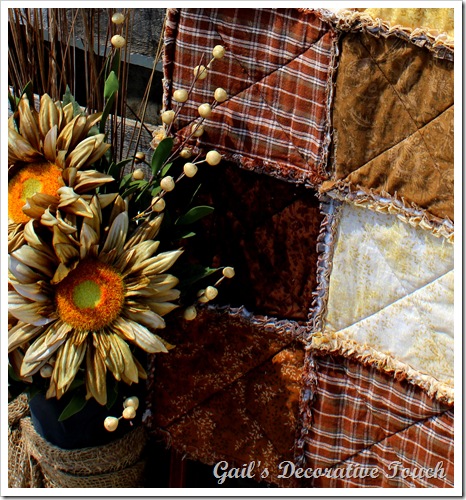
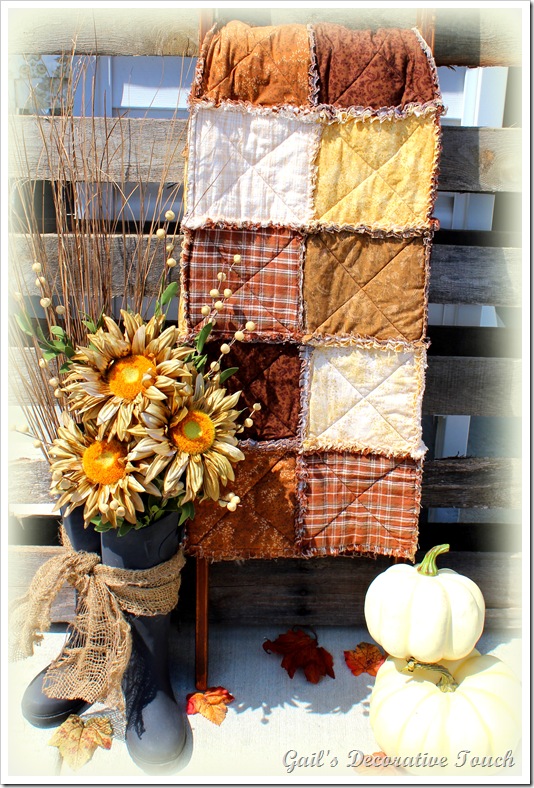
Hello Everyone!  I can’t believe that it has been over a week since my last post.  With an upcoming fall show just a few weeks away, I swear I’ve been out in my garage from sun up to sun down the last week or so.  I have been working on all kinds of projects for the upcoming fall show one of which is this fall rag quilt.

016

While I was making this quilt, I thought of my Mom.  The pattern I used was my Mom’s.  When my Dad got sick and she quit her job to stay at home with him, she purchased this quilt pattern at JoAnne’s in hopes that she would have the time to make one for all of us (her children, grandchildren and great grandchildren).  Unfortunately, she never did because she got sick shortly after my Dad past.

016

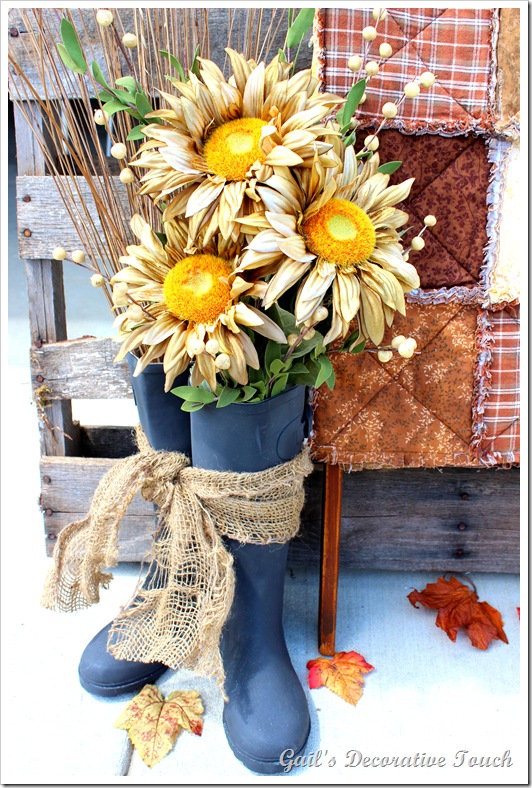
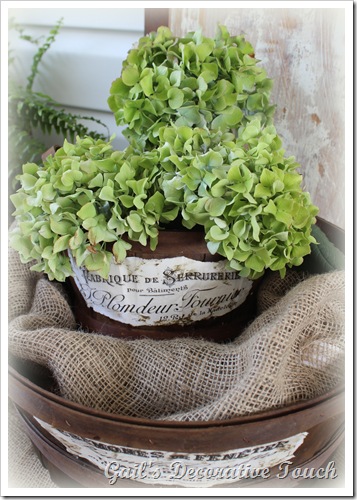
In addition to a whole lot of painting and some sewing, I’ve also been working on making fall wreaths and floral arrangements.   Using a pair of rain boots, I made this fall arrangement below. 

018

I tell you what, planning and preparing for this fall show is a lot of work!  But hopefully in the end it will be worth it. 

011

As always, thanks for stopping by and hope you all have a wonderful week! 

Gail

Sharing with:

Savvy Southern Style for WOW Us Wednesday

DIY by Design for Sizzle Into Summer

Tuesday, August 21, 2012

Shades of Gray

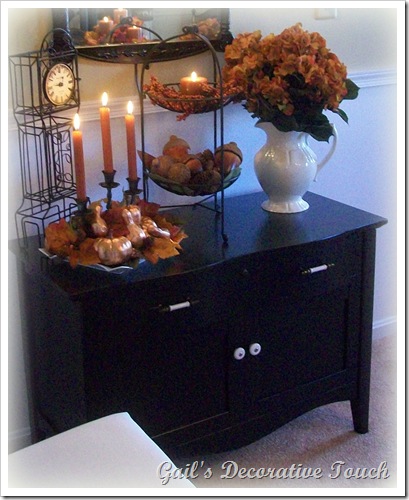
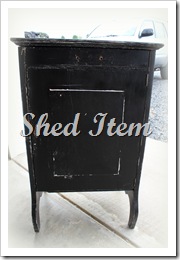
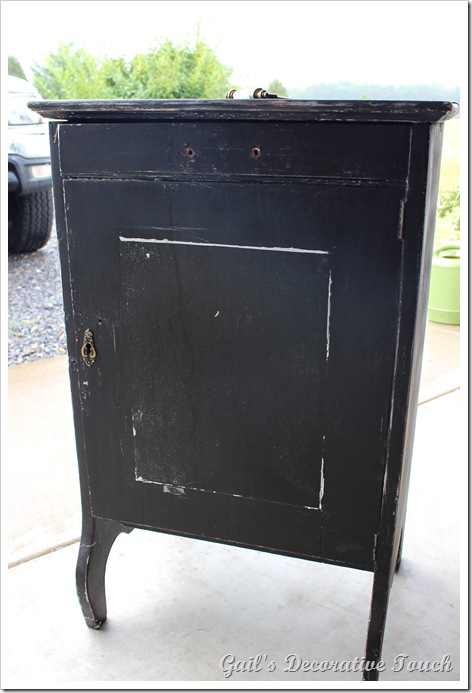
Hello Everyone!  I can’t believe what once was black and looked like this……

008 - Copy - Copy

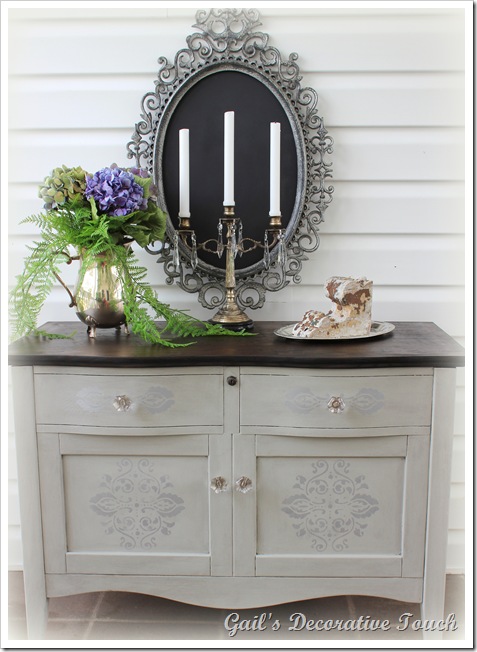
….now looks like this. 

054

I painted it using two shades of homemade gray chalk paint.    First, I painted it a dark gray and then dry brushed it with a lighter shade. Then I finished it off with only clear wax. 

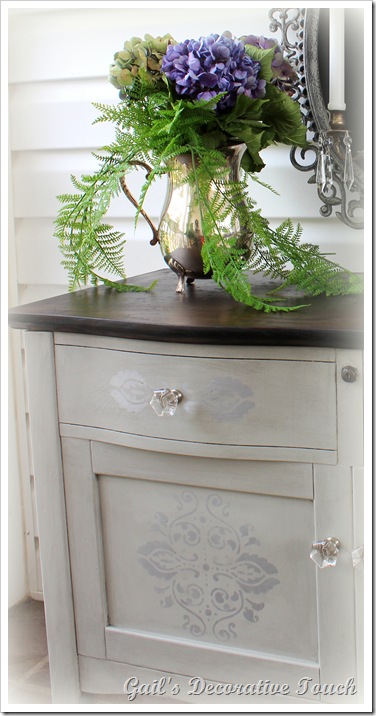
I stenciled the front using Metallic Shimmering Silver paint.  I also replaced the original white knobs with glass ones. 

060  

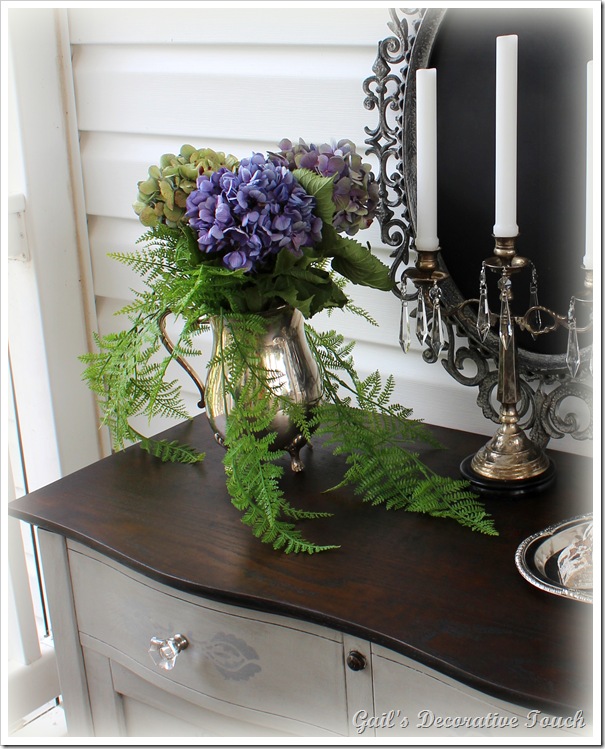
I sanded the top and applied 3 coats of Miniwax Ebony stain on it.   

063

  Thanks Kathy for helping me decide on a stain color.  I was undecided on what color stain and after consulting with Kathy at Creative Home Expression via emails, she helped me make my decision and I am so glad she did….I love that color stain with the gray!

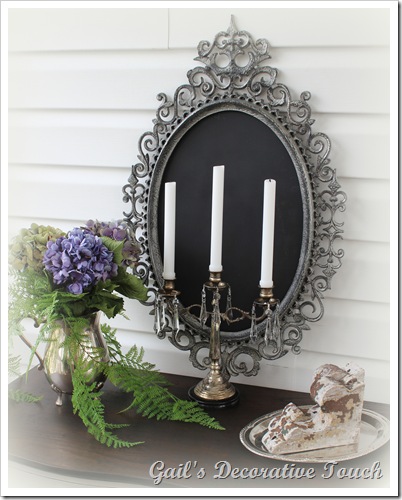
  Do you believe that if you break a mirror that you will have 7 years of bad luck?  The frame you see below had a mirror inside and guess what I broke it! 

056 

I had taken the mirror out of the frame and added an antique effect to it.  When I was putting the mirror back into the frame, it broke.  I have to say it also broke my heart because it looked really nice and it was a lot of work antiquing that mirror!  Now I have an empty frame.  I guess I could just leave it completely empty or paint the inside with what’s in there now with chalkboard paint or maybe get another mirror cut for it.  What would you do?  

049

Charlie and I did attend the estate auction sale on Saturday and I have started working on some of the things that I purchased.  I’ll share some of those projects with you soon.

As always, thanks for stopping by and hope you all have a wonderful week! 

Gail

Sharing with:

Cozy Little House for Tweak it Tuesday

A Stroll Thru Life for Table Top Tuesday

Savvy Southern Style for WOW Us Wednesday

DIY by Design for Sizzle into Summer

Thursday, August 16, 2012

Vintage Wire Shopping Cart Basket

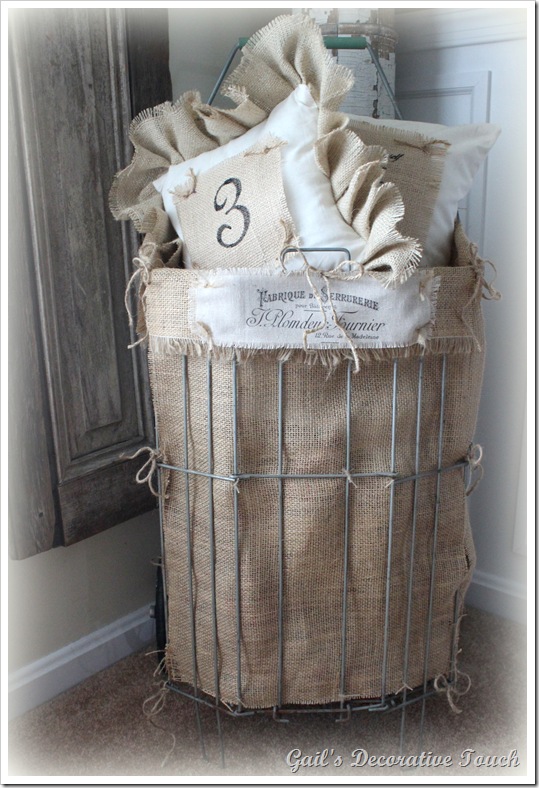
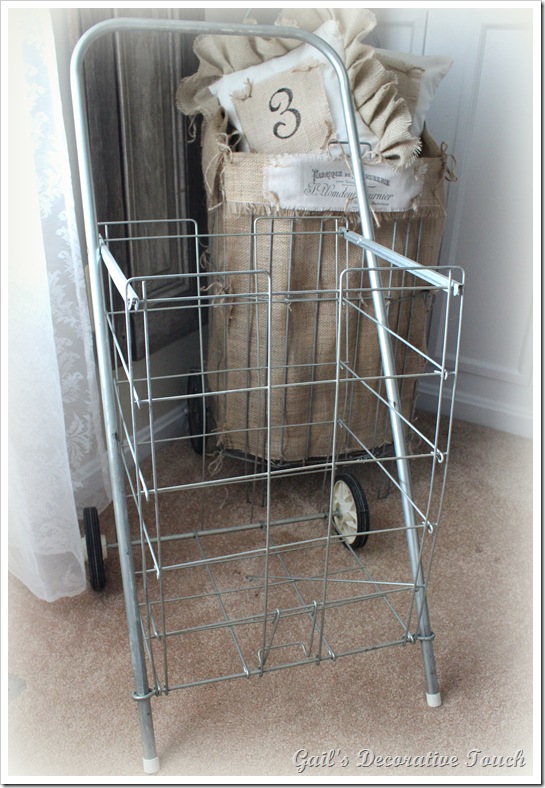
Back in June, Kathy at Kate’s Place shared a vintage shopping cart she purchased at a porch sale for $3 and made the cutest burlap liner for it.  You can read all about Kathy’s cute vintage shopping cart here.  Since then, I had been on the look-out for one.  Well wouldn’t you know it, I have been lucky enough to have found two in the last six weeks.   I wasted no time on the first one I found and made a burlap liner for it.  

025

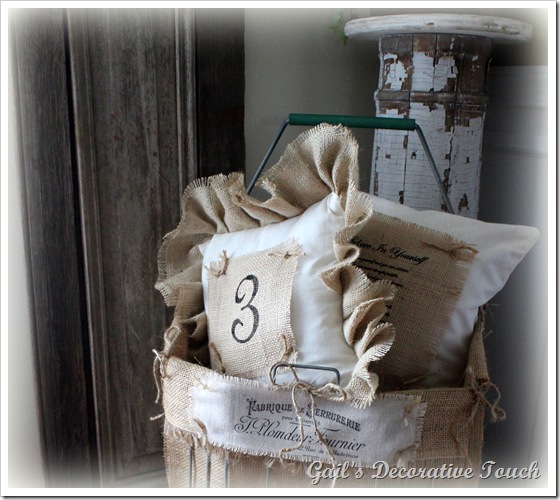
I printed a graphic from The Graphic Fairy onto fabric and attached it to the front with twine. 

029

This one I’m keeping for myself.

012

I’m using it to house some pillows right now. 

028

But this recent find I will make a burlap liner and offer it for sale at my upcoming fall show.

032

I’ve had a few inquiries about printing on fabric.  I have seen several different methods for printing on fabric but this one has worked for me every time.  I use freezer paper.  First, I cut my fabric and freezer paper the size of the printer paper which is 8 1/2 by 11.  Next, I iron my fabric to get rid of all the wrinkles and then place the freezer paper on top of my fabric with the shiny side down. Then I run a dry iron on medium on top of the freezer paper.  I keep checking to see if the freezer paper has adhered to the fabric and when it has you’re done.  It’s ready for the printer.  I hope I did okay in explaining how to do this….I’m not very good at tutorials! 

As always, thanks for stopping by and I hope you all have a wonderful weekend.  Charlie and I are going to an estate sale on Saturday.  Previews are showing a lot of antique items!

Gail

Sharing with: 

Stone Gable for Tutorial Tips and Tidbits

Kristen's Creations for Share Your Creations

French Country Cottage for Feather Nest Friday

The Charm of Home for Home Sweet Home

2805 for Potpourri Friday

Wednesday, August 15, 2012

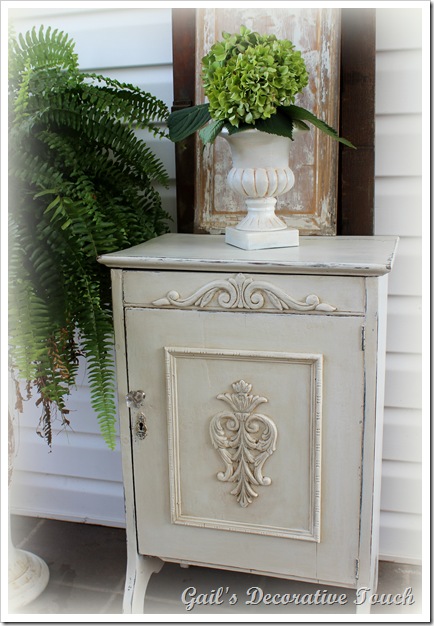
Frenchy Cabinet

  I’m still here!  I feel like I haven’t been visiting you all as often but I have been busy working on things from the shed for an upcoming fall show.  I’m making progress!  You can actually walk in my shed now.  And believe me that is progress.  

I have a lot to share with you that I have done so far.   One being, this cabinet that I purchased many years ago at an auction.  

014

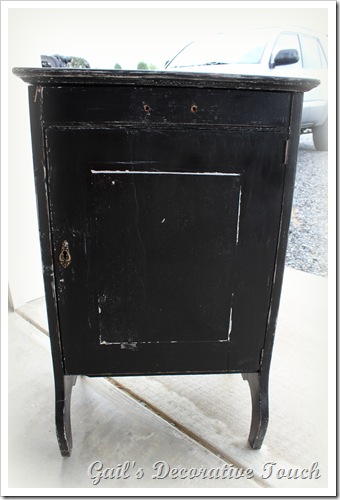
As you can see, this cabinet was in need of a little TLC.  I think I have given it some now.     

049

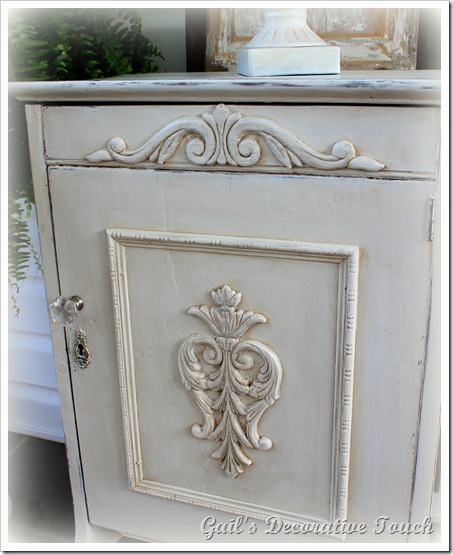
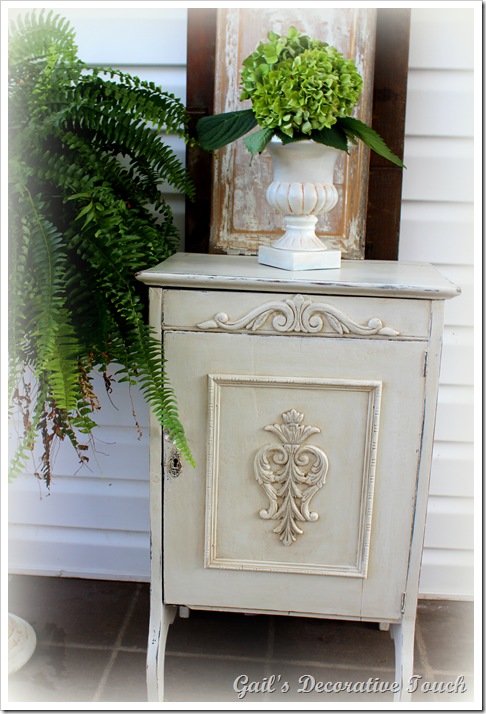
I  painted it with white homemade chalk paint.  I added picture frame molding to the center of the cabinet doors.  Then I applied the appliqués and finished it off with clear and dark wax.

055

  The little glass knob was also another feature I added. 

049

Another before……

 017 

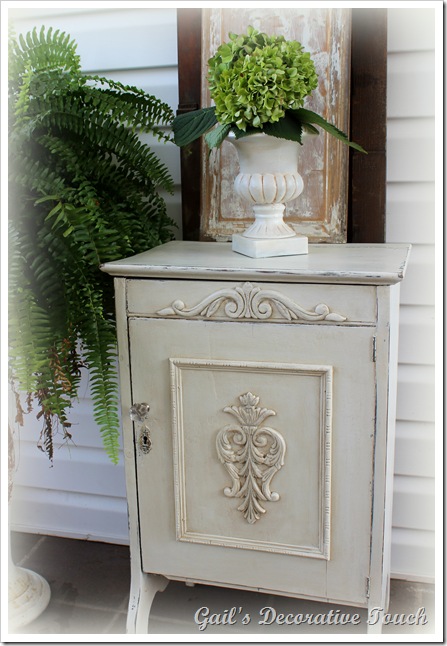
……and another after. 

050

Quite a transformation wouldn’t you say!  I have to say that it was worth the TCL.  It is made of solid hardwood and is very heavy!  Sad to say but they don’t make them like that anymore.

As always, thanks for stopping by and I hope you all have a wonderful day.  You know where I’ll be…in the garage working!

Gail

P.S. Our oldest daughter stopped by for a visit and fell in love with this cabinet make-over.  She has taken it home with her so this cabinet is not for sale since it has found a new home with her.

Sharing with:

Savvy Southern Style for WOW Us Wednesday

DIY by Design for Sizzle into Summer

Primp for Primp your Stuff Wednesday

Friday, August 10, 2012

For the LOVE of Baskets

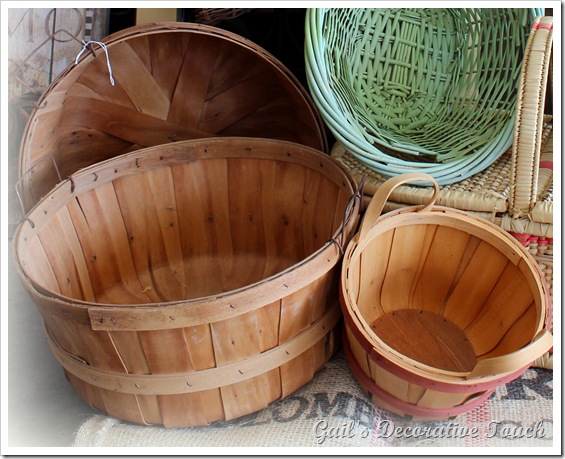
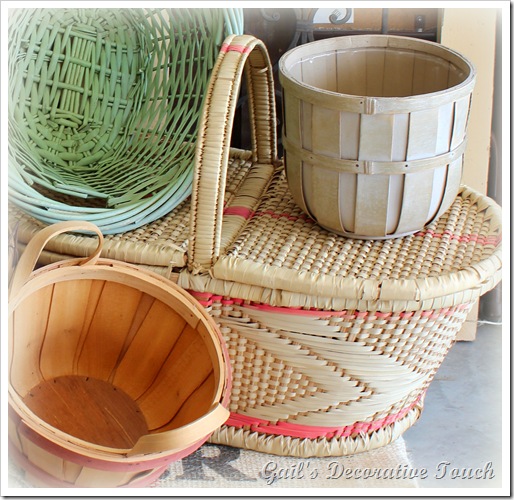
I LOVE baskets and I’m sure most of you do too.  And what I LOVE even more is when you can take a 1/2 bushel basket that looked like this……

004 - Copy

…….and transform it into this!

069

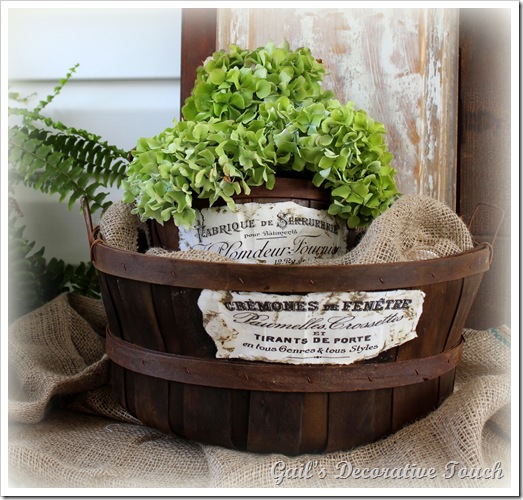
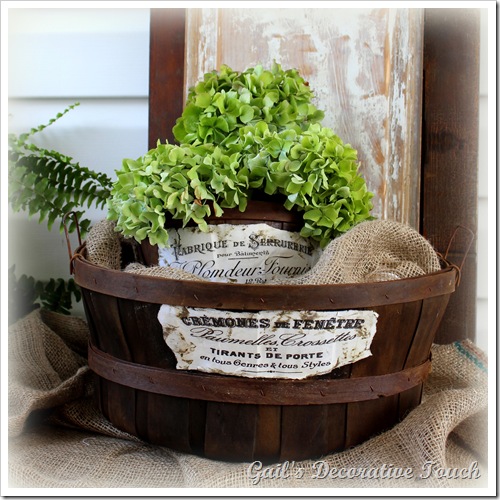
I stained the baskets with a vinegar and steel wool solution which you can read about here.  However, I sprayed the baskets with a garden hose after I applied the solution because it does stink.  Then I let them dry in the sun.  I really like how they turned out using this solution and I would use it again. 

074

I Mod-Podged two different graphics from The Graphic Fairy on the front of each basket. 

066

The picnic basket you see below also got a new look……

002

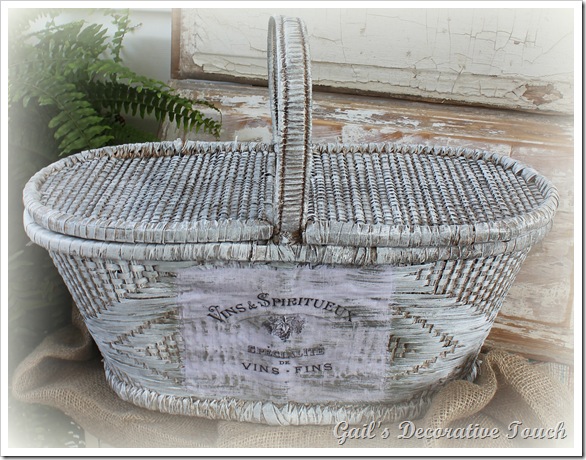
….to this. 

064

To achieve this look, I first spray painted the entire basket white.  Next, I applied a dark wax and then dry brushed a light and dark gray on it.    Again I used another graphic from The Graphic Fairy.   Except this time instead of using paper I printed this one on the fabric.  I then Mod-Podged it to the front. 

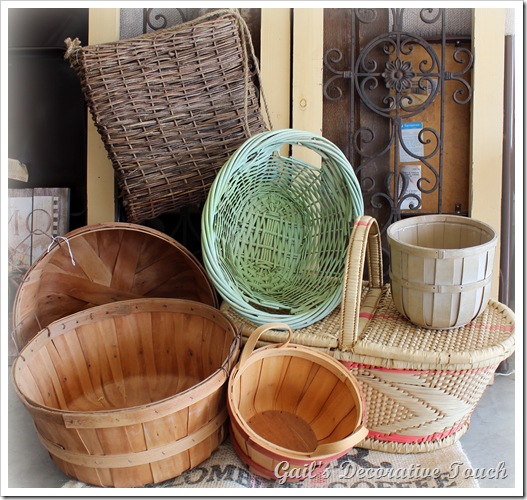
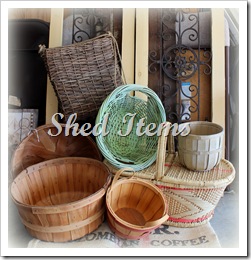
I’m so glad that baskets are making a come back!  These are only a few of the baskets that I brought into the garage from the shed.

003

  And to think while I was out thrifting today, I picked up three more! 

As always, thanks for stopping by and I hope you all have a wonderful weekend.

Gail

Sharing with: 

The Charm of Home for Home Sweet Home

French Country Cottage for Feathered Nest Friday

At The Picket Fence for Inspiration Friday

2805 for Potpourri Party


Wednesday, August 8, 2012

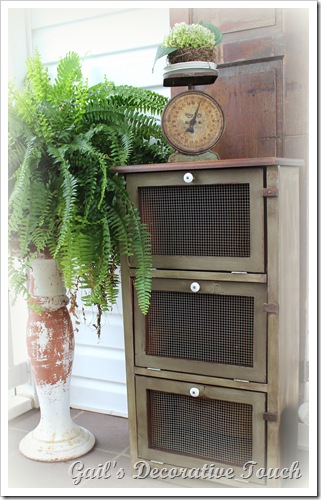
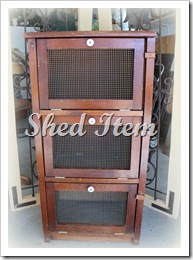
Vintage Jelly Cabinet with Chicken Wire Doors

  About a year ago, I wrote a post about all the “stuff” I had stashed in my shed and how I had been thinking of selling some of the furniture pieces by doing a Fall show.  Well let’s just say that never happened. 

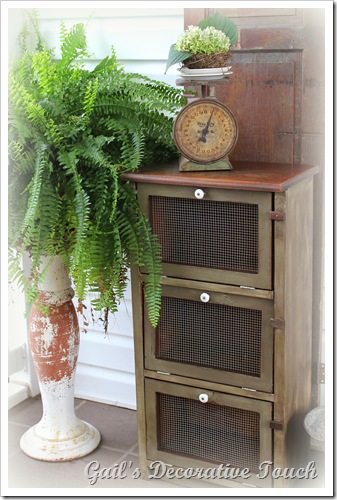
Here we are a year later and I’m thinking the same thoughts only this time I’ve actually started working on some of the furniture pieces that I had in my shed.   One piece that I finished is this vintage jelly cabinet. 

037

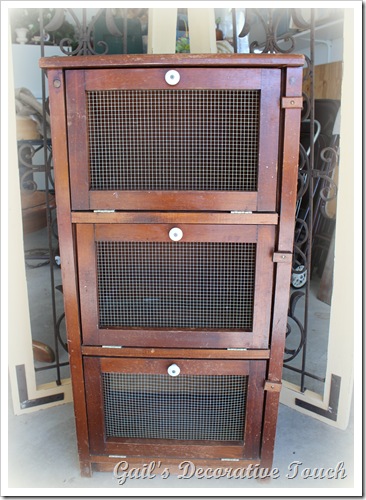
This is what it looked like before. 

 003

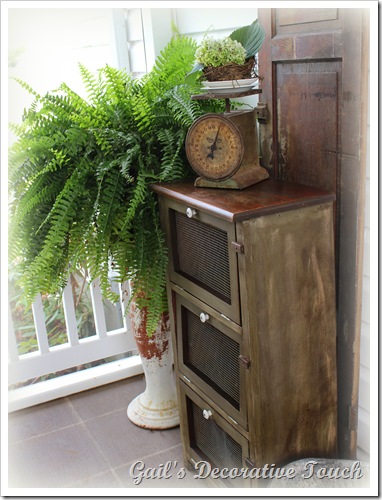
I  painted it with a homemade chalk paint and finished it with clear and dark wax.  

029

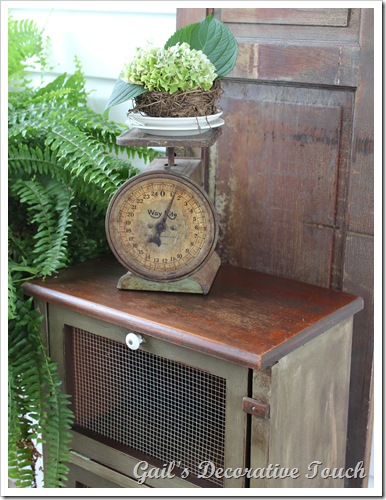
I left the top as is because I thought it added more character to this piece.  I also used the original porcelain knobs.  The chicken wire doors are also original to this jelly cabinet. 

034

If any of you local people are interested in purchasing this piece, e-mail me….it’s for sale! 

031

To be continued….more shed stash to share!

As always, thanks for stopping by and I hope you all have a wonderful week. 

Gail

Sharing with:

Savvy Southern Style for WOW Us Wednesday

DIY by Designs for Sizzle Into Summer
Primp for Primp Your Stuff

Tuesday, August 7, 2012

Antique Wine Demijohn

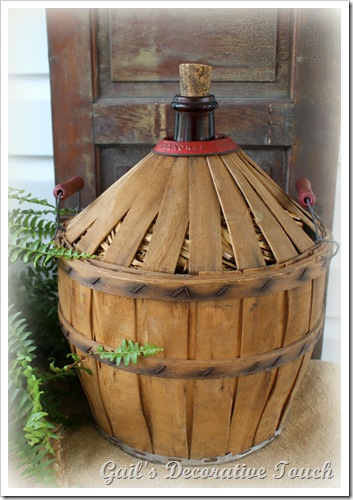
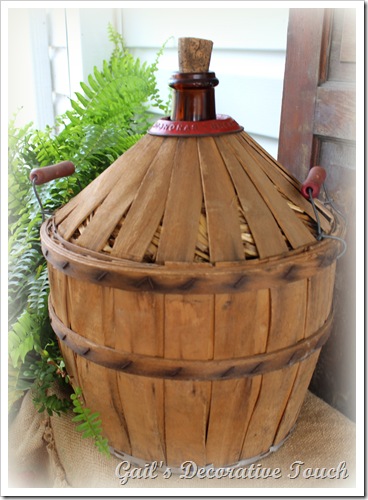
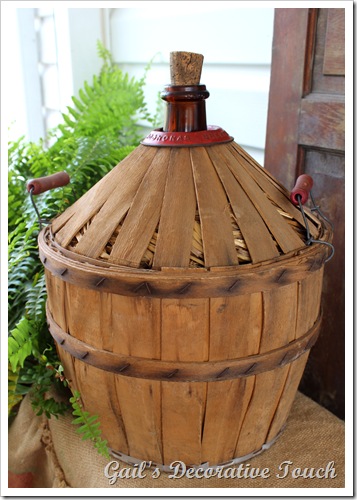
Hello Everyone!  This past weekend,  Charlie and I went to an auction. Look at this antique wine demijohn that I bought. 

040 

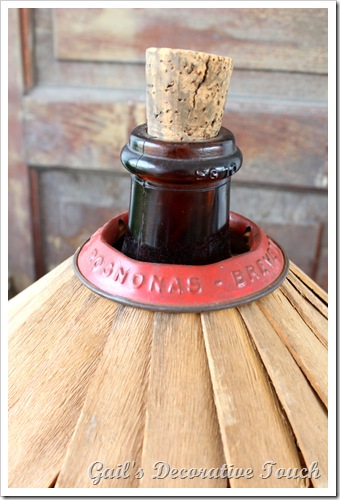
   It has a red metal collar around the top that reads Perrin & Fils Rognonas Brevete.

042

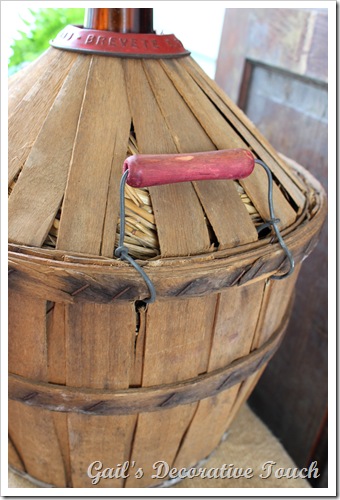
  Look at the red wooden handles that it has.

041

I have seen a few different styles of demijohns but I have not seen one like this.

      043

   There was someone else there that was just as intrigued as I was with this demijohn.  He was bidding against me and I finally won the bid for $55 which I didn’t think was bad at all.   

044

I purchased a few others things at the auction which I will share with you in another post.   I also have to show you what I have been working on that has been stashed in the shed. 
003

017

004

As always, thanks for stopping by and your sweet comments.  They always make my day! 
Gail

Thursday, August 2, 2012

Antique Sign for the Mantel Shelf

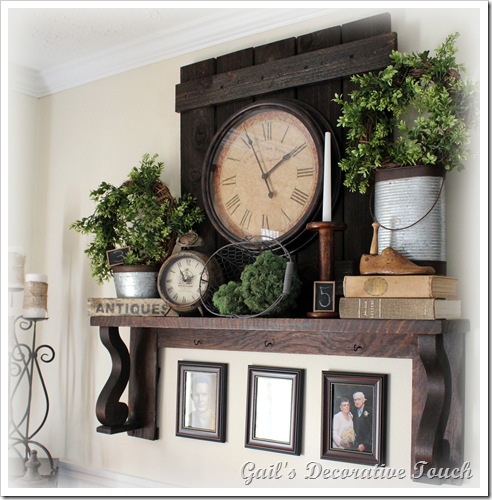
Hello Everyone!   When I re-did my mantel shelf back in the Spring, I had intentions of making a little sign that said “ANTIQUES”.  Well here it is August and I just got around to making one. 

002

When I was making the sign, I was thinking about Fall and what changes I could make to the mantel shelf for Fall.  

003 - Copy

Well I came up with nothing!  I guess I better start looking for inspiration because before we know it Fall will be here! 

003

I have received quite a few inquiries from Pinterest and a few comments left on my blog about the mantel shelf  in our family room.   Most of the emails/comments have been whether or not I made the mantel shelf myself.  Unfortunately, I did not make this one.  I purchased it at an auction a few years ago.  However, I did make one for my son and daughter-in-law’s kitchen and you can read all about it here.   

As always, thanks for stopping by and I hope you all have a wonderful week. 

Gail

Linking this post to:

The Charm of Home for Home Sweet Home

2805 for Potpourri Party

At The Picket Fence for Inspiration Friday

French Country Cottage for Feathered Nest Friday

Related Posts with Thumbnails